
Wallowing in Plaster
Creating a dedicated slab for recycling and wedging clay is essential for any pottery studio. It provides a firm yet absorbent surface that helps remove excess moisture while keeping the clay workable.
This is how I made one for Hags Pottery in one day, from start to finish - you have to work quickly with plaster.
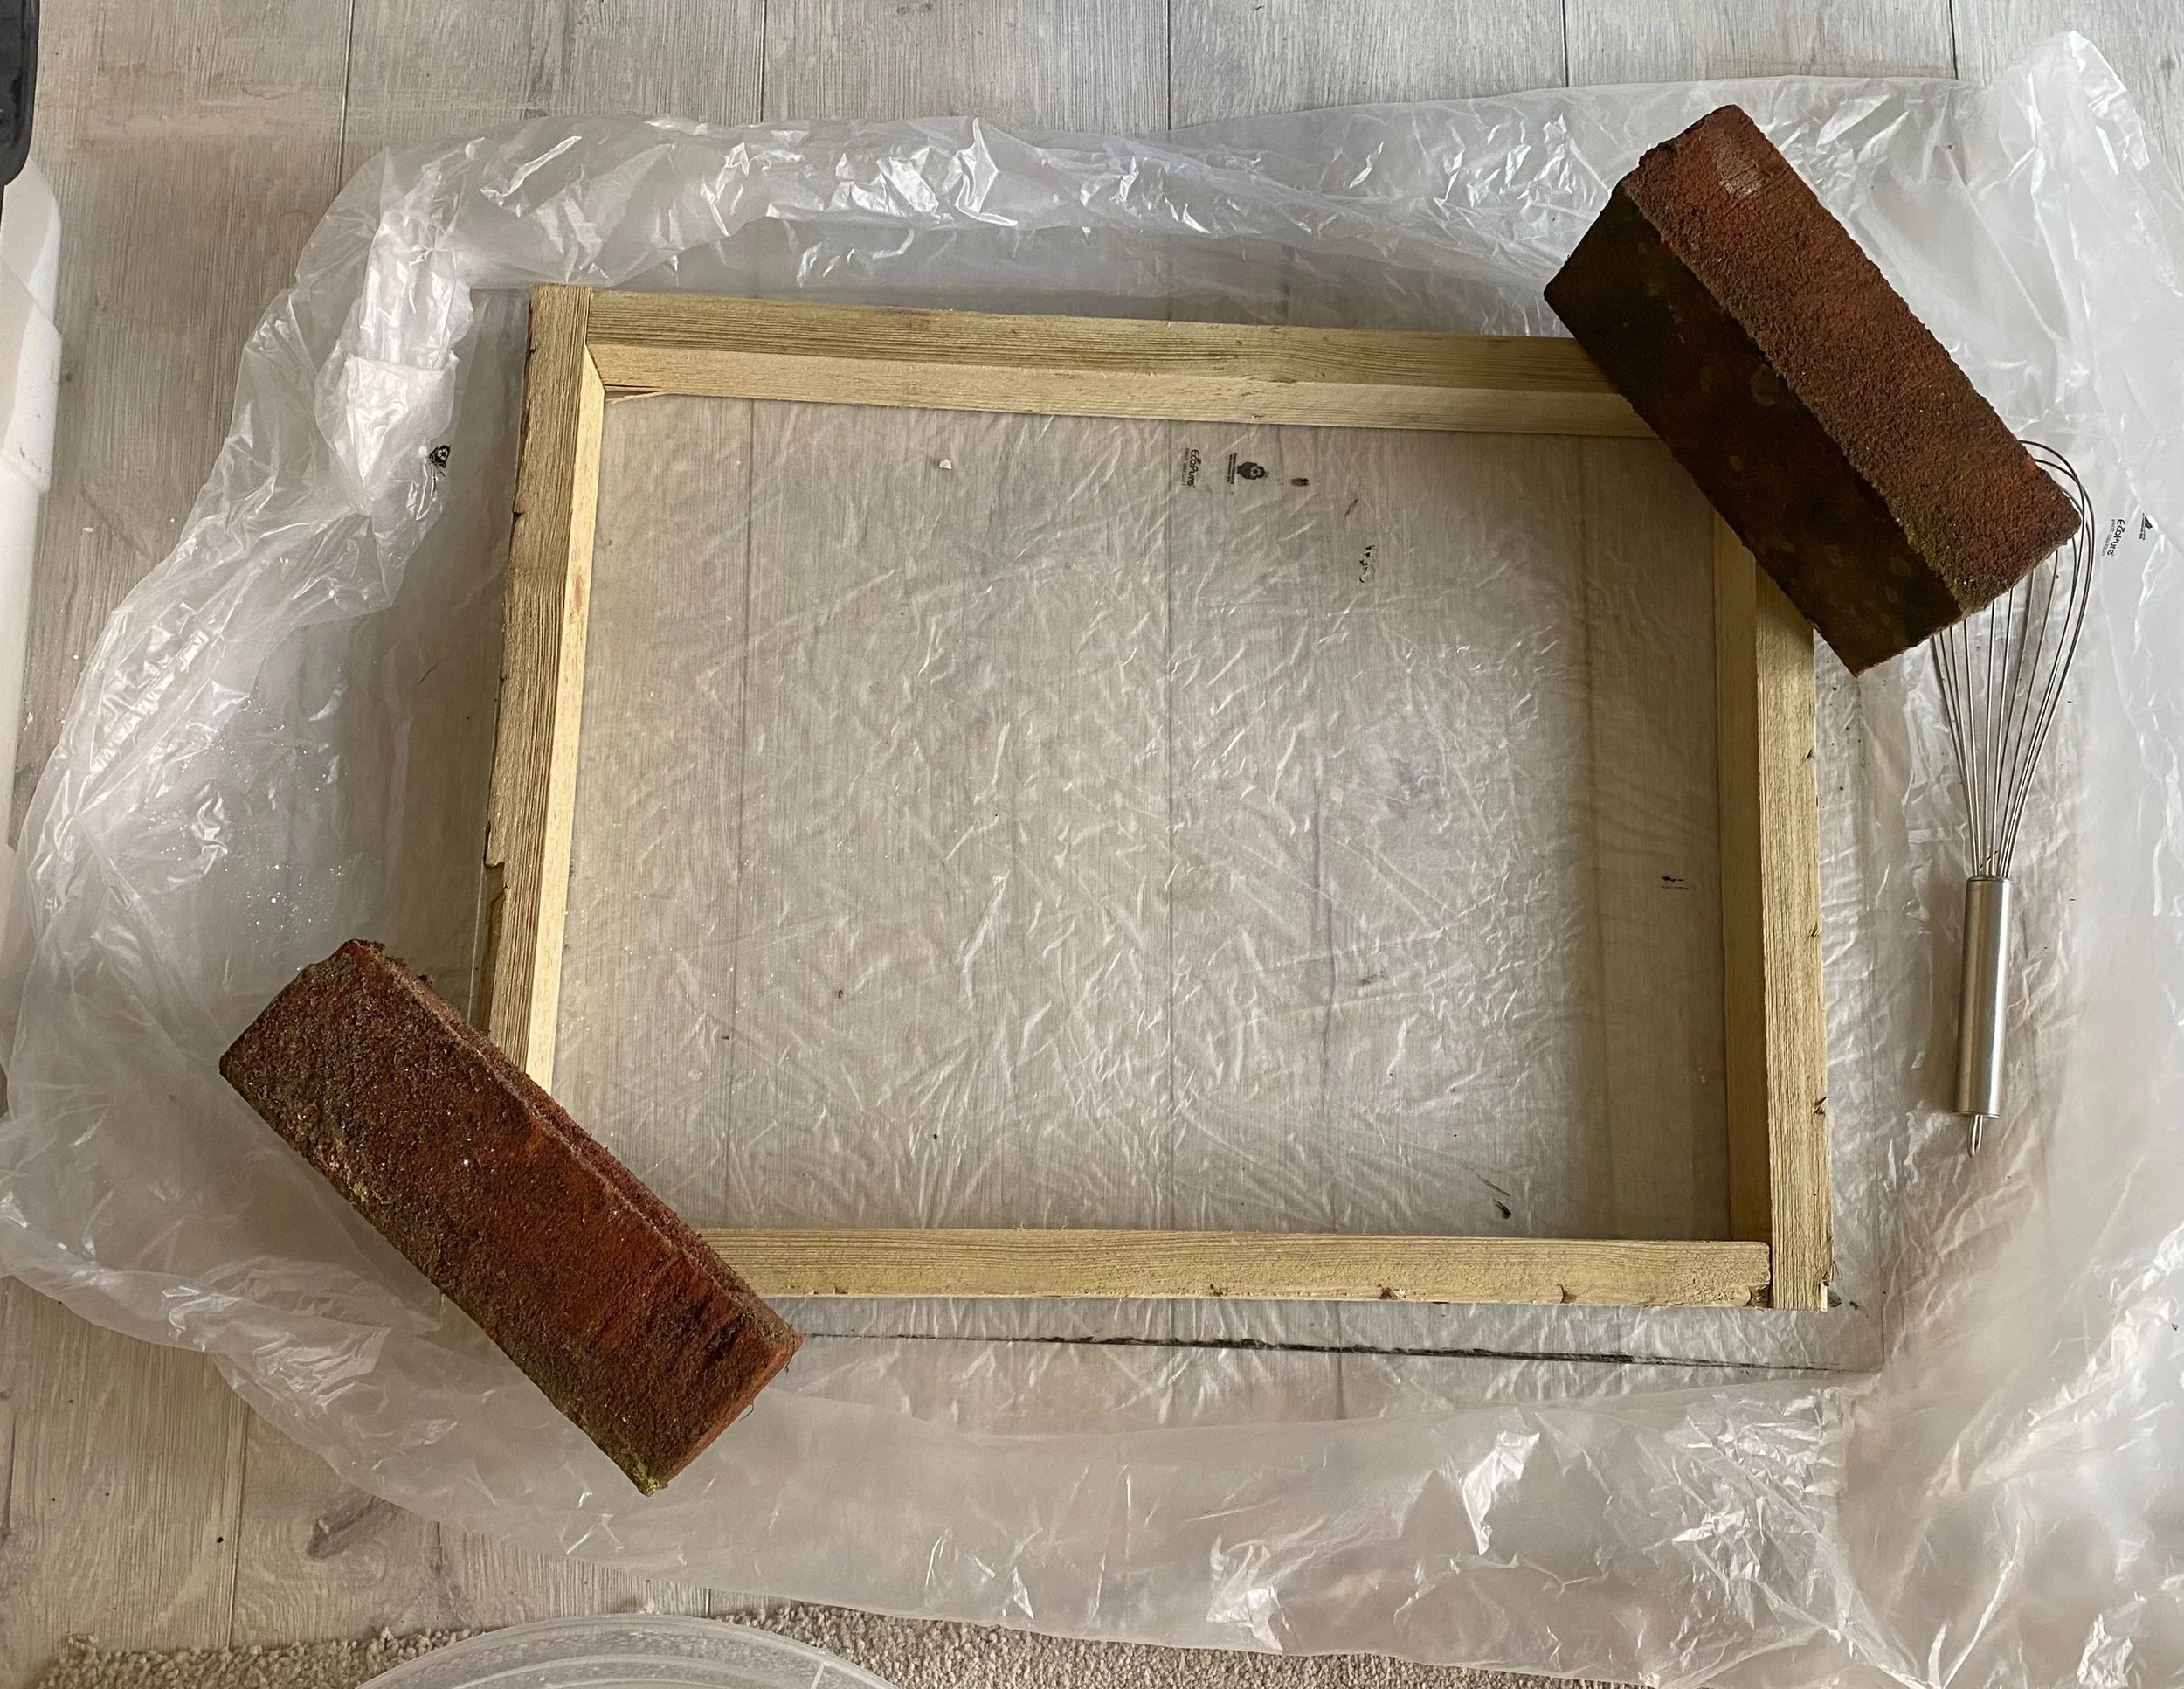
I began by building a sturdy wooden frame, using some thick wooden planks to create a rectangular frame that would be large enough to accommodate the amount of clay we'll be working with in the studio. The corners were secured with screws for stability.
I protected the floor with pastic sheeting, which would form the base of the mould.
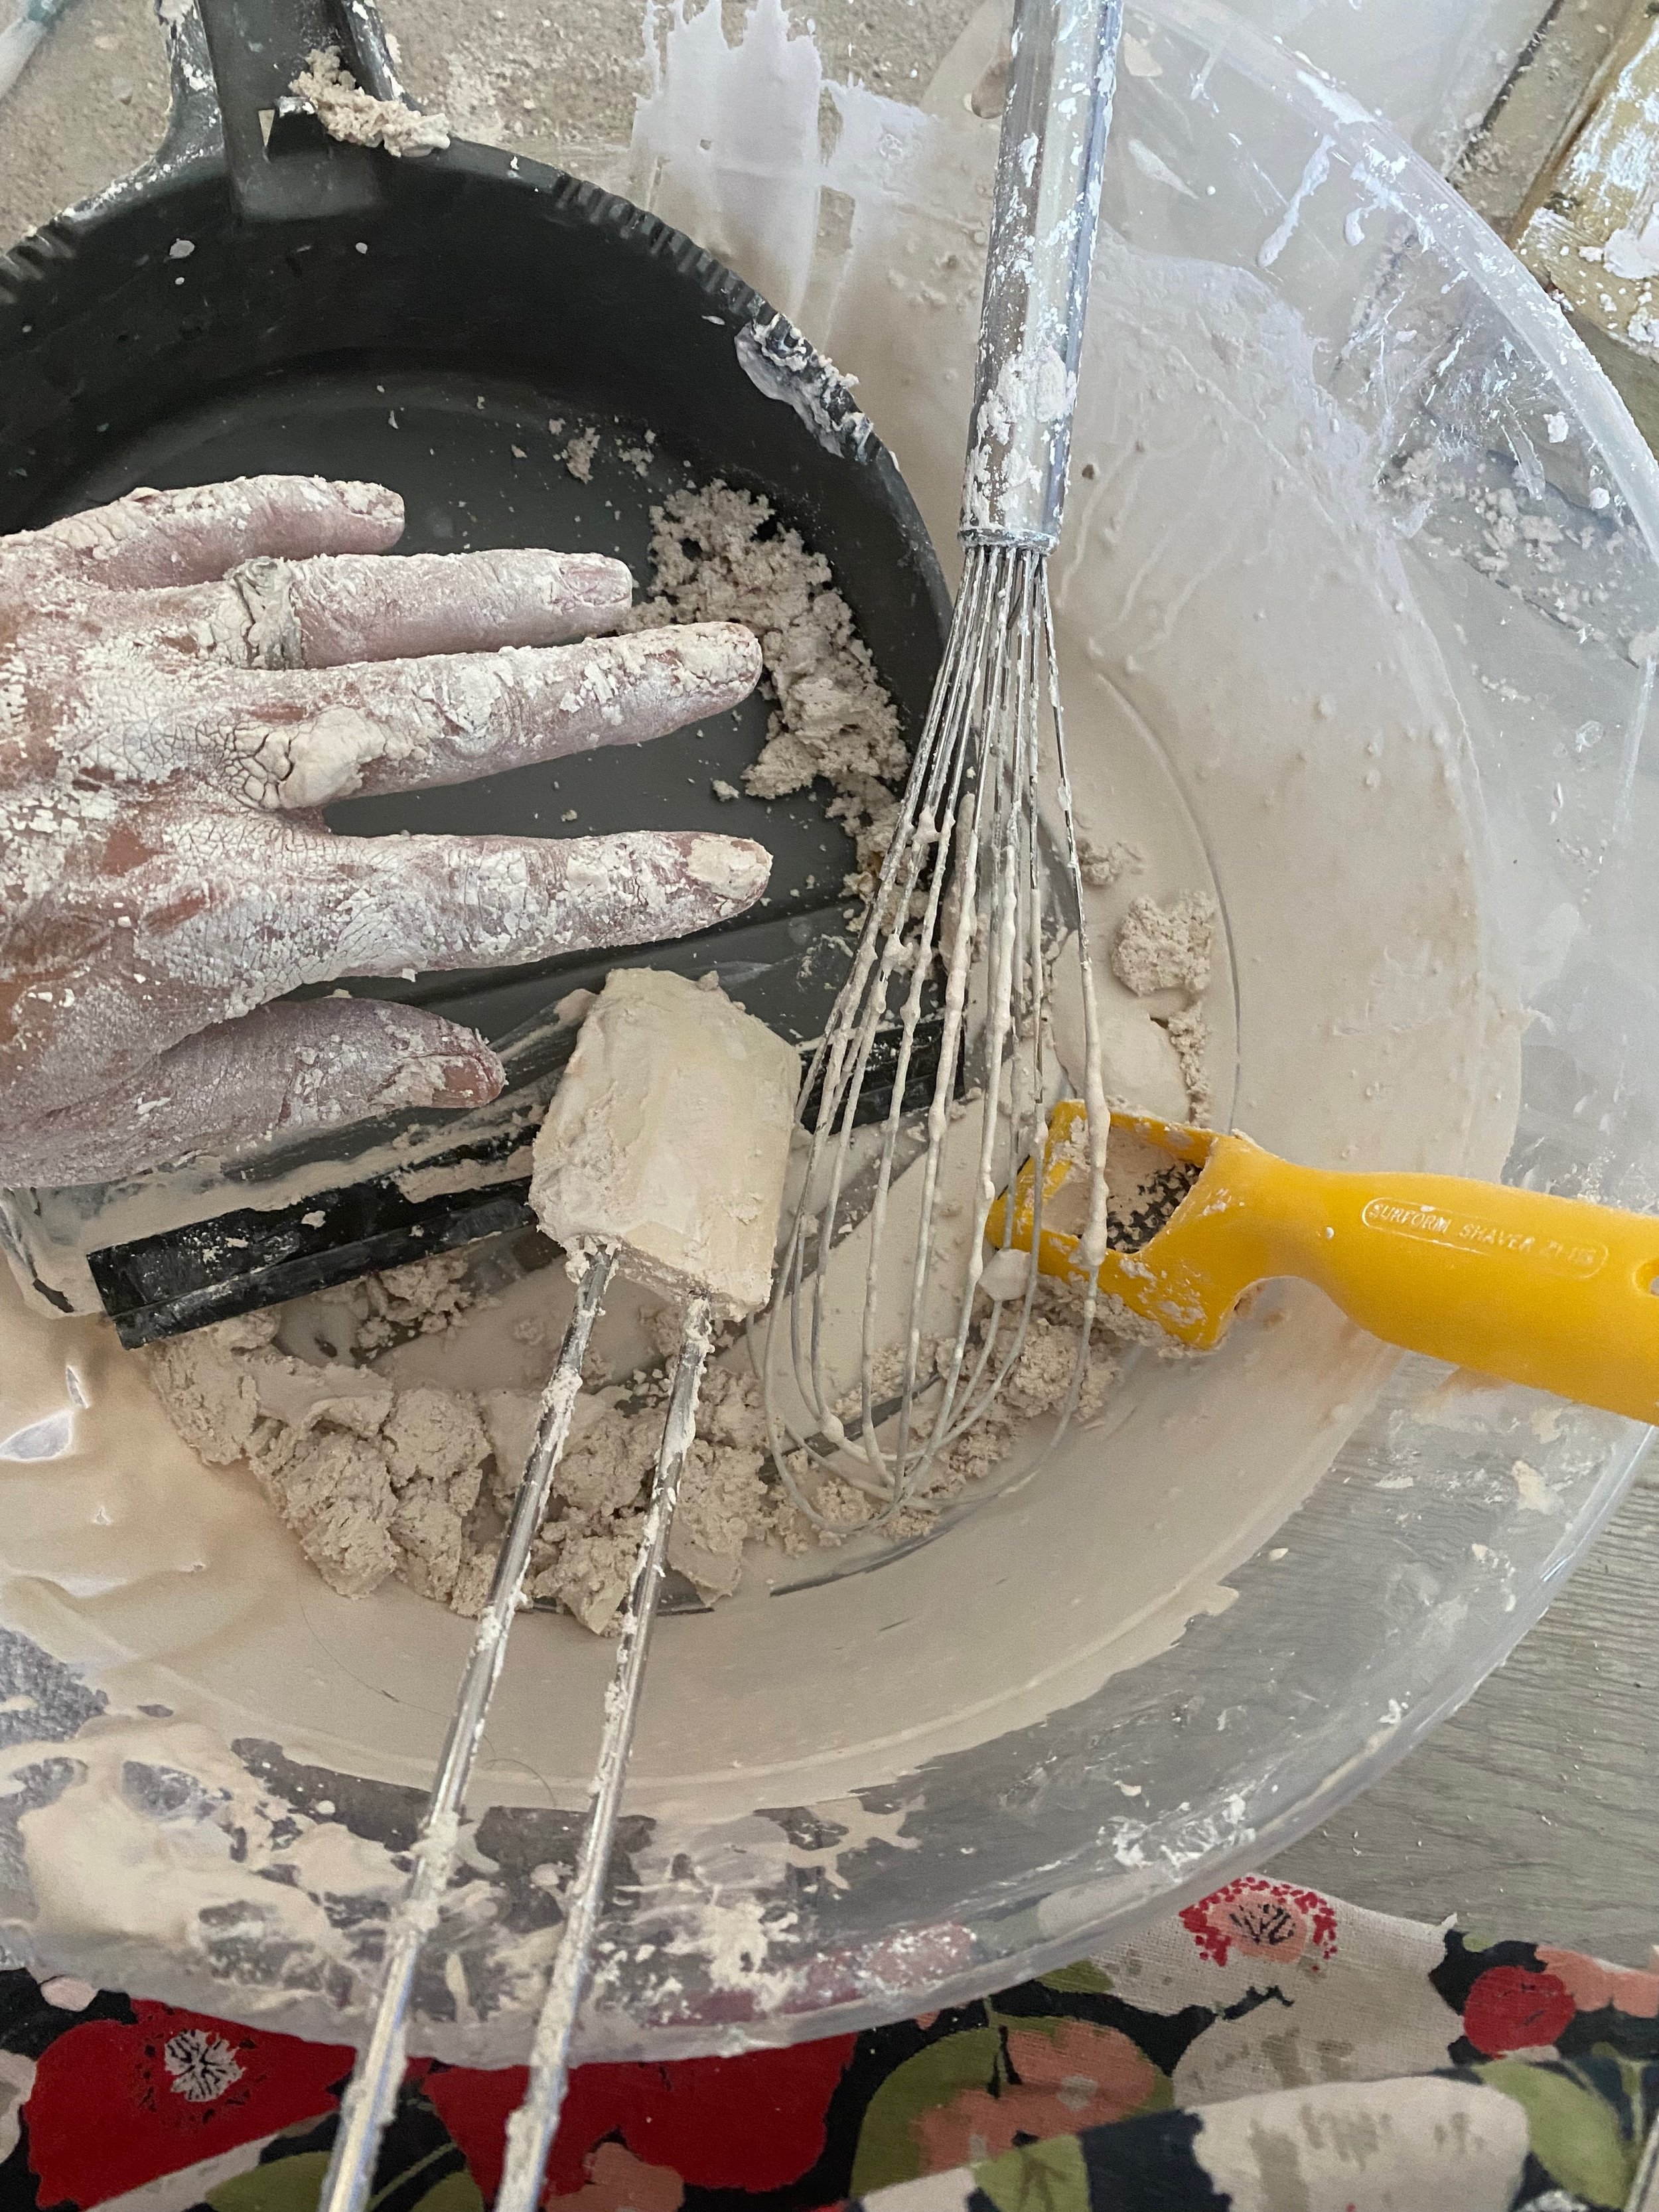
Next was the messy part, as I mixed the plaster with a hand whisk, it bubbled furiously as the chemical reaction took place – you can feel the heat, and you have to work quickly before the plaster sets.


Once the plaster was all smooth (after a few minutes) I carefully poured a layer of plaster directly into the frame - trying to ensure a smooth and level surface.

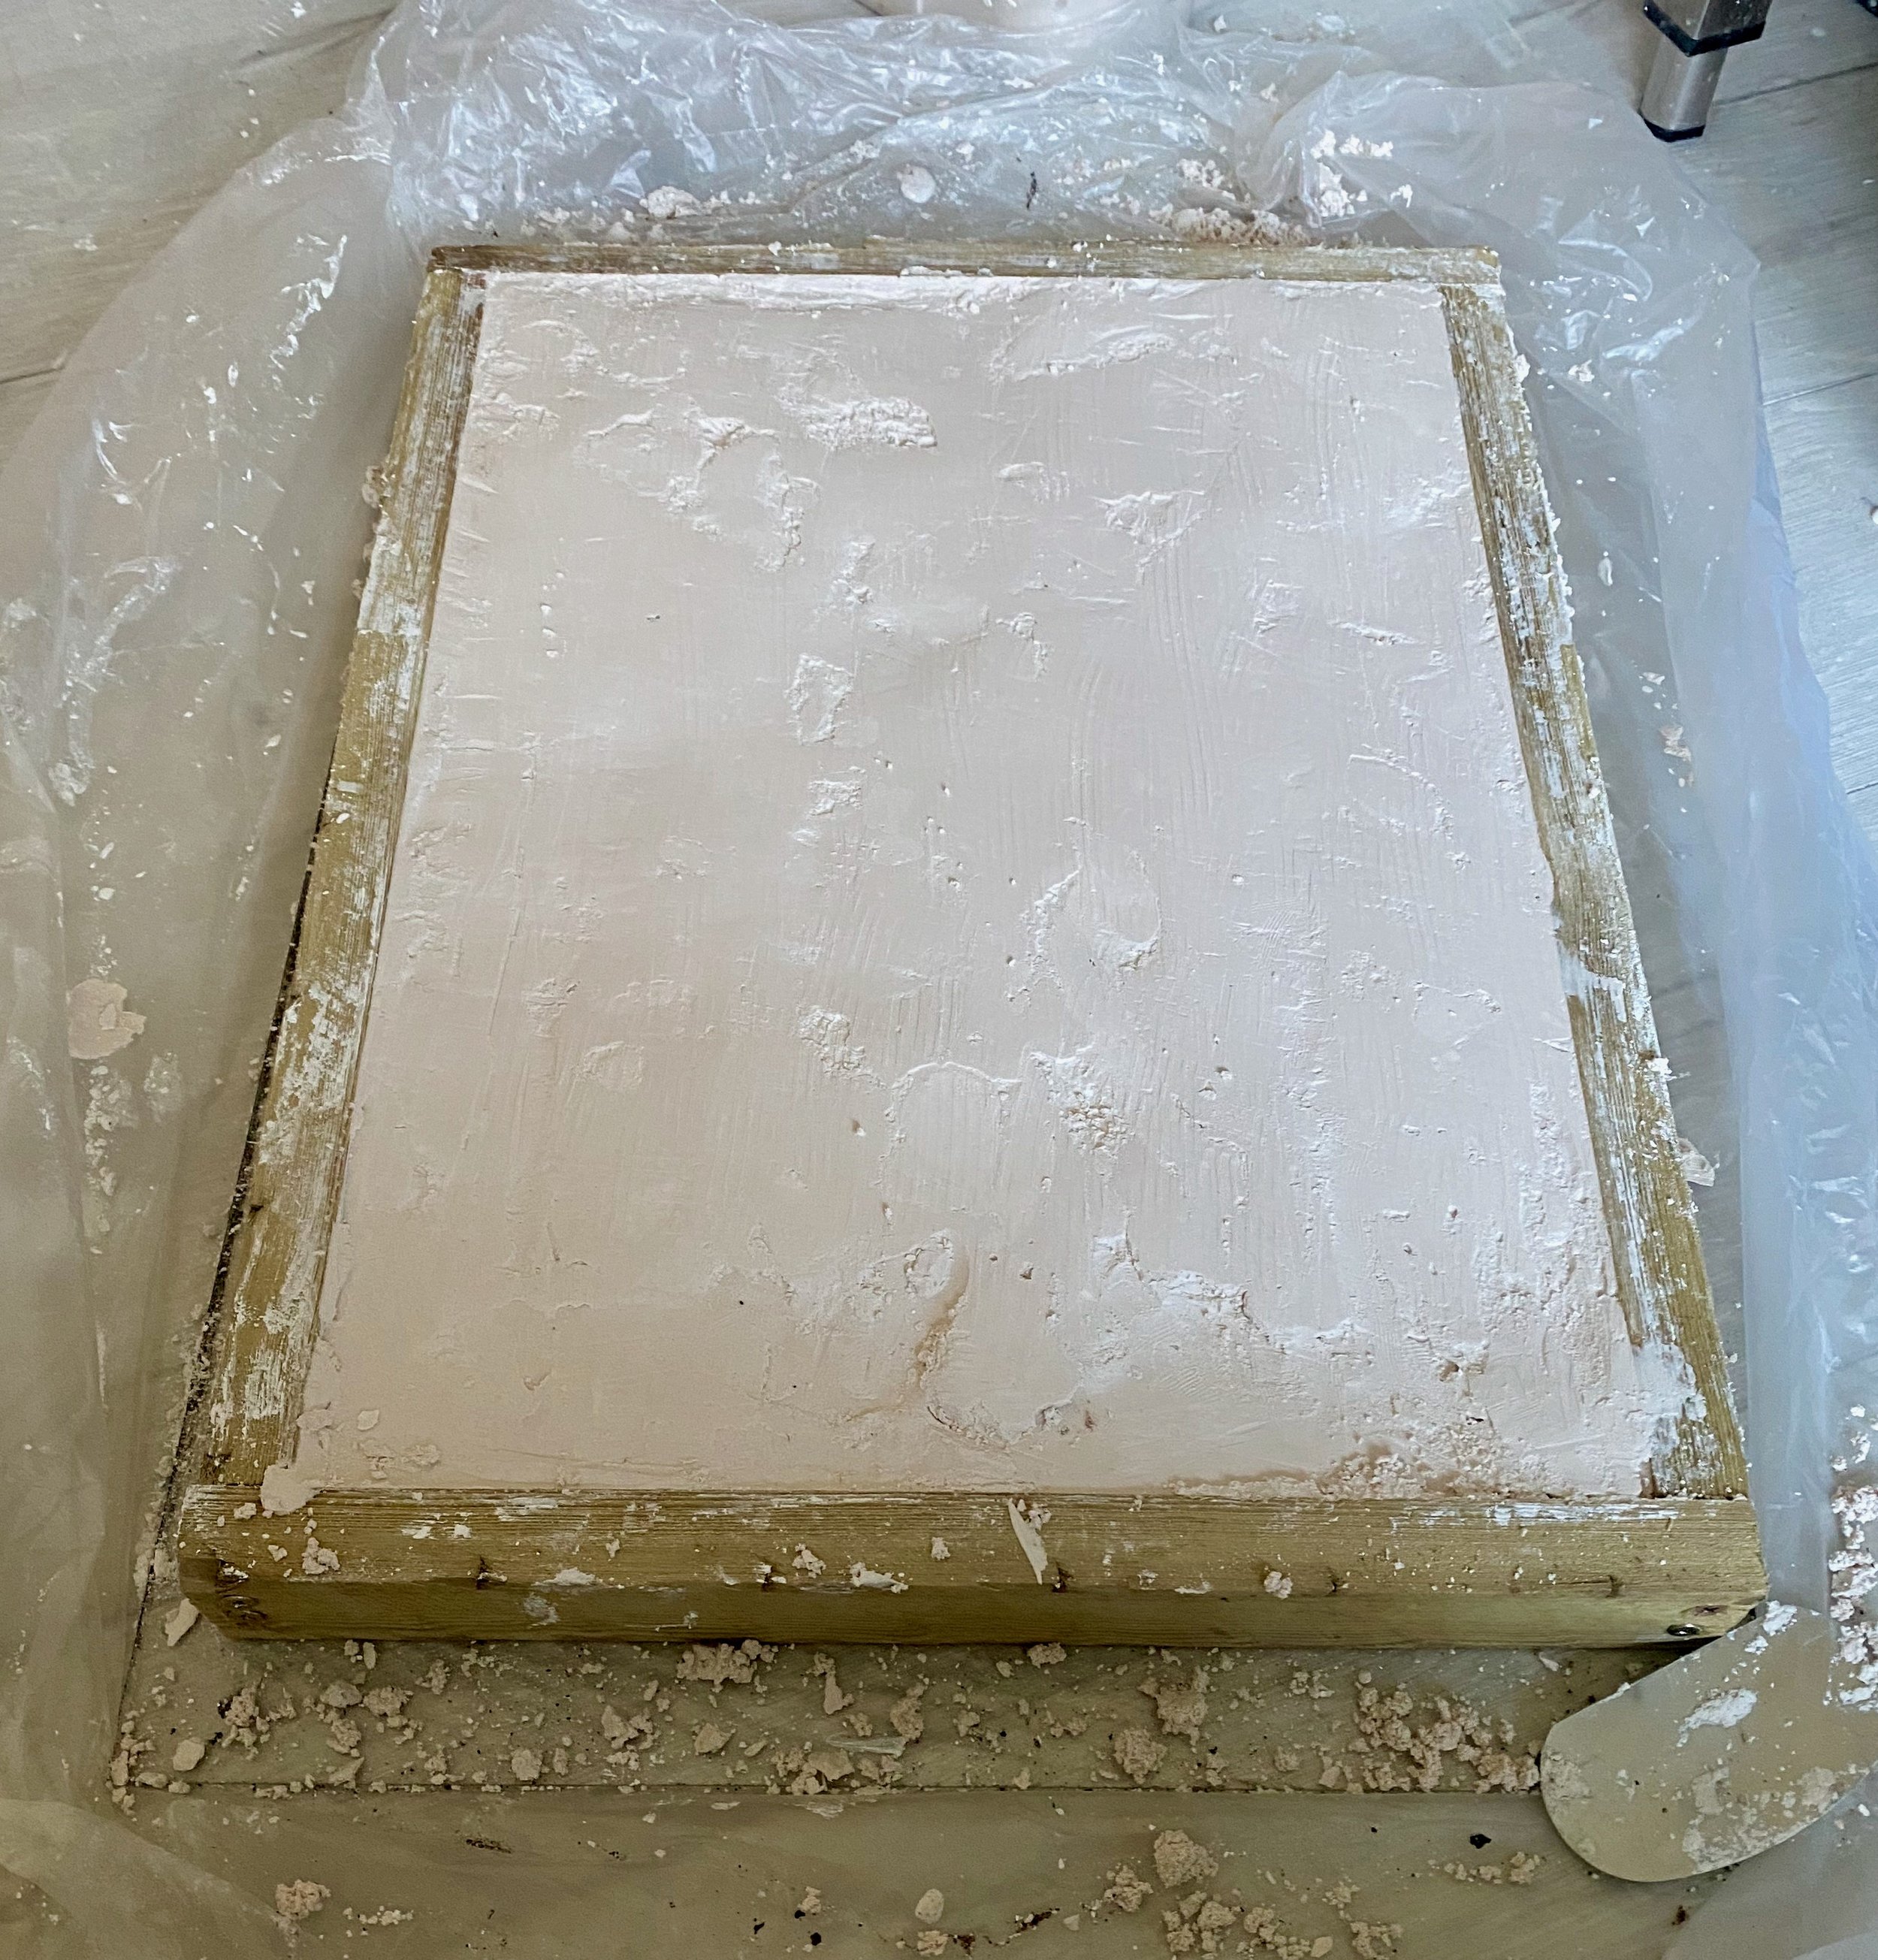


Once fully set, our slab was ready to be put to work. A plaster slab is an essential tool in any pottery studio - it will allow us to recycle and reclaim clay with ease. Unfired clay scraps can be soaked in water, then spread onto the slab to dry out to the perfect consistency before being wedged (or kneaded) for reuse.
A well-made recycling and wedging slab can last for years, making clay preparation more efficient and sustainable in the studio.